Introduction
This guide will walk you through the process of setting up a Raspberry Pi as a Linux server. We’ll cover hardware requirements, OS installation, and configuration steps, including remote access setup.
Hardware Requirements
To set up your Raspberry Pi as a Linux server, you’ll need:
- A Raspberry Pi (any model works, but Raspberry Pi 5 is recommended for better performance)
- MicroSD card (16GB or larger)
- MicroSD card reader
- Power supply
- Ethernet cable or Wi-Fi dongle
- Keyboard
- Monitor or TV with HDMI input (or a capture card)
Note: Other single-board computers like Orange Pi or Banana Pi can also be used with similar steps.
OS Installation
Follow these steps to install the Linux server OS on your Raspberry Pi:
-
Download the latest version of Ubuntu Server 24.04 LTS for ARM architecture from the official Ubuntu website.
-
Insert the MicroSD card into your computer using the card reader.
-
Use Raspberry Pi Imager to flash the Ubuntu Server image to the MicroSD card:
a. Select Ubuntu Server 24.04 LTS as the OS to write to the MicroSD card.

b. Click “Edit Settings” to configure hostname, password, and SSH:

-
In the “General” tab, set a custom hostname and password.

-
In the “Services” tab, enable SSH and add your public SSH key:
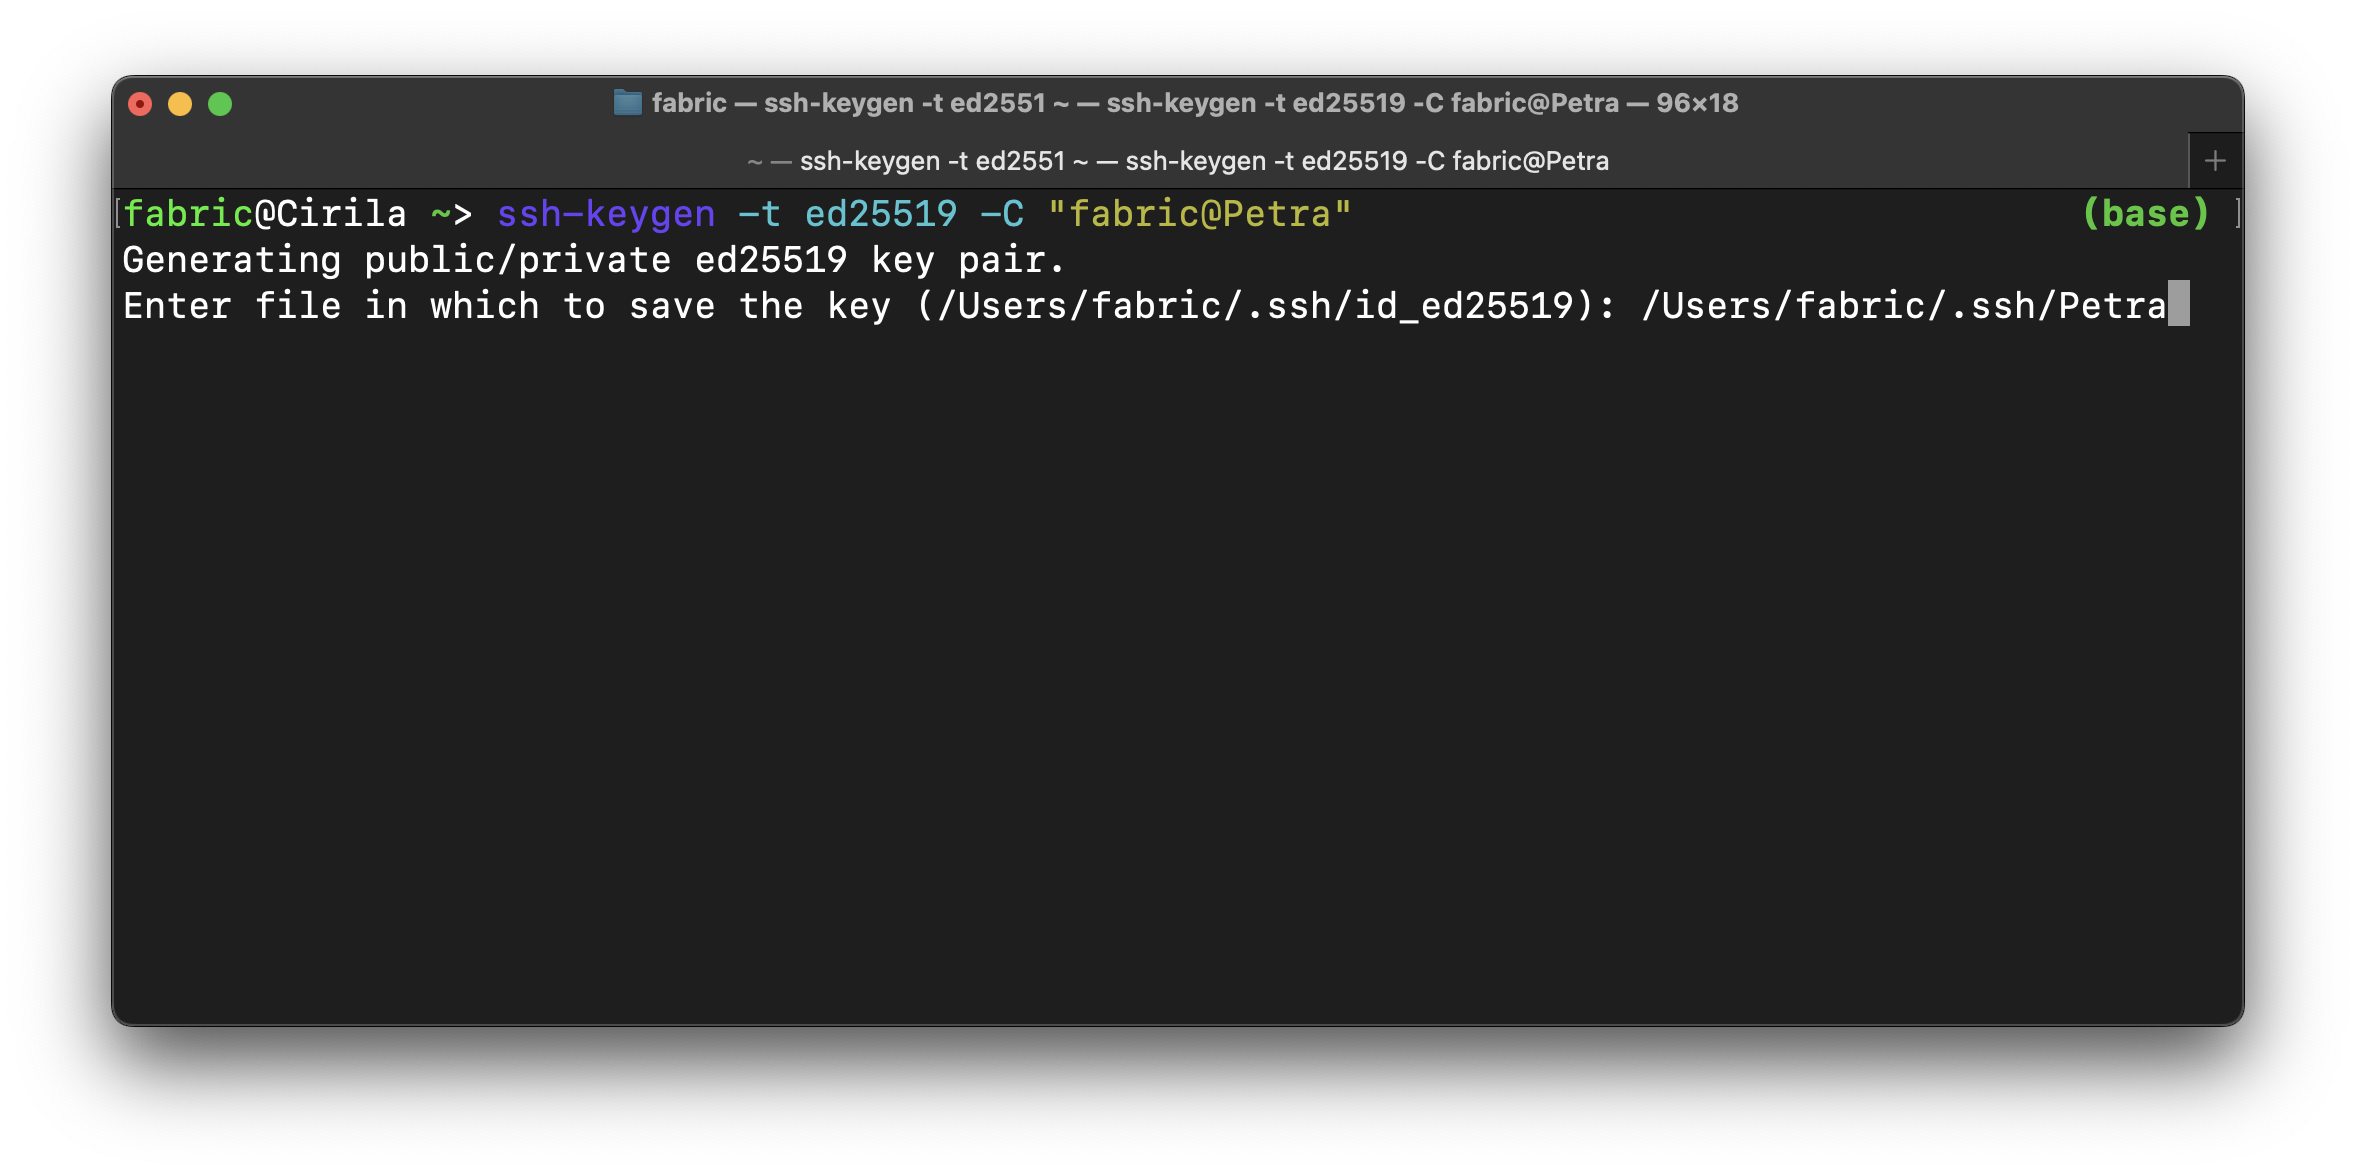
Generate an SSH key (if you don’t have one) using:
ssh-keygen -t ed25519 -C "[email protected]"
Enter a passphrase to secure the key (or press enter to skip).

Copy your public key:
cat ~/.ssh/id_ed25519.pubPaste the key into the “Services” tab of Raspberry Pi Imager.

c. Save the settings and write the image to the MicroSD card.
-
-
Insert the MicroSD card into the Raspberry Pi.
-
Connect the Raspberry Pi to a monitor via HDMI and attach the power supply.
-
Wait for the installation to complete. You can then log in using the keyboard and monitor or SSH.

-
To find your Raspberry Pi’s IP address, log in and run:
hostname -I -
Connect to your Raspberry Pi via SSH:
ssh username@[IP_ADDRESS] -i ~/.ssh/id_ed25519
Configuration
After installing Ubuntu Server, perform these configuration steps:
Disable Password Authentication
-
Open the SSH configuration file:
sudo nano /etc/ssh/sshd_config -
Find and change the following line:
#PasswordAuthentication yesto:
PasswordAuthentication no -
Save the file and restart the SSH service:
sudo systemctl restart ssh
Update the System
sudo apt update && sudo apt upgrade -y
Set Up Cloudflare Tunnel for Remote Access
-
Create or log into your Cloudflare account.
-
Add your domain in the “Websites” tab if you haven’t already.
-
Navigate to the “Zero Trust” tab, then “Networks” > “Tunnels” to create a new tunnel.

-
Choose “Cloudflared” as the connector and click “Next”.

-
Name your tunnel.
-
Select “Debian” as the OS and “arm64-bit” as the architecture. Run the provided command on your Raspberry Pi to install the Cloudflared connector.

-
Configure Public Hostnames by adding a subdomain and choosing “SSH” as the service with “localhost:22” as the destination.

-
Save the tunnel configuration.
-
Install Cloudflared on your local machine to enable Cloudflare Tunnel SSH connections.
-
You can now connect to your Raspberry Pi from anywhere using the configured subdomain.
Conclusion
You’ve successfully set up your Raspberry Pi as a Linux server with remote access capabilities. Remember to keep your system updated and regularly review your security settings to ensure your server remains protected.
For troubleshooting or advanced configurations, refer to the official documentation for Ubuntu Server and Cloudflare Tunnel.